
Last updated September 20, 2026
Full 25-point door and opener safety check with every visit - springs, cables, rollers, tracks, and your LiftMaster or Chamberlain opener included
You get a price before we start. It does not change when the truck arrives.
 Before
 After
After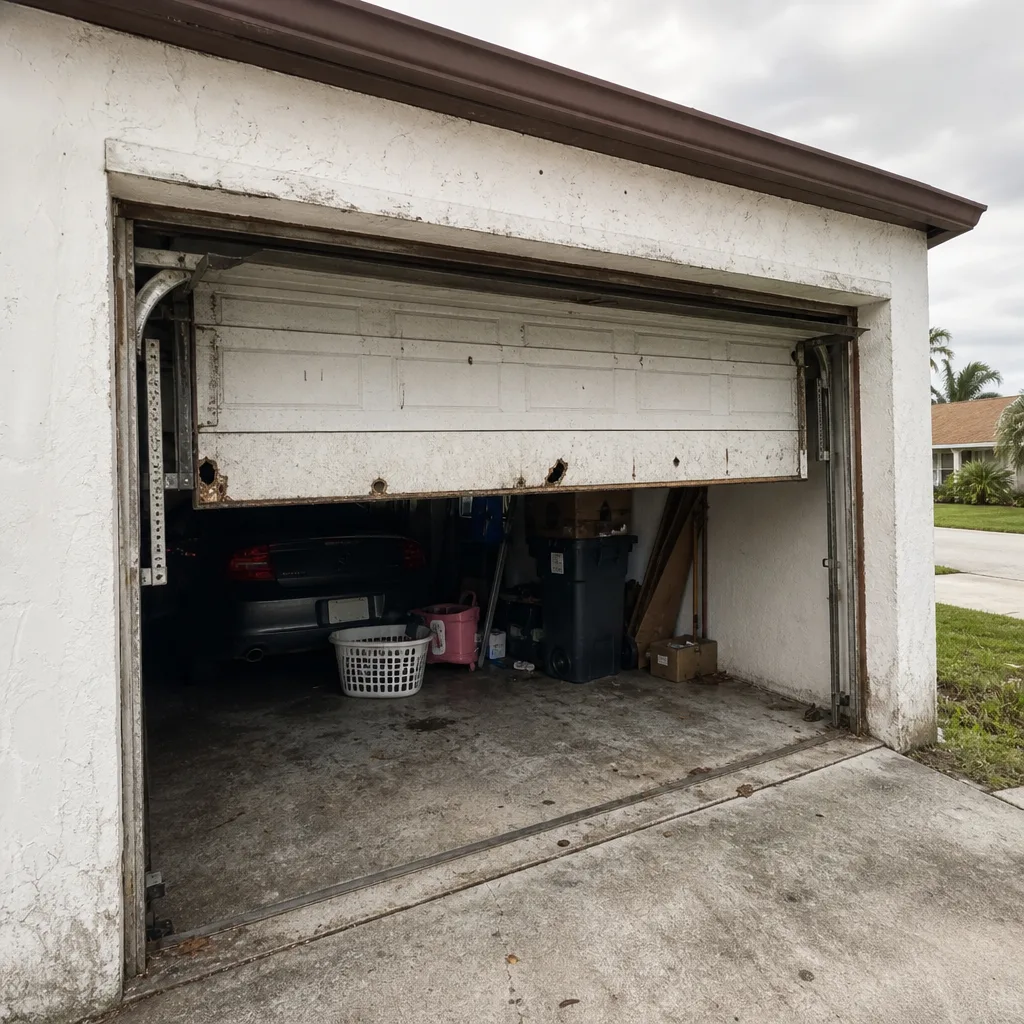 Before
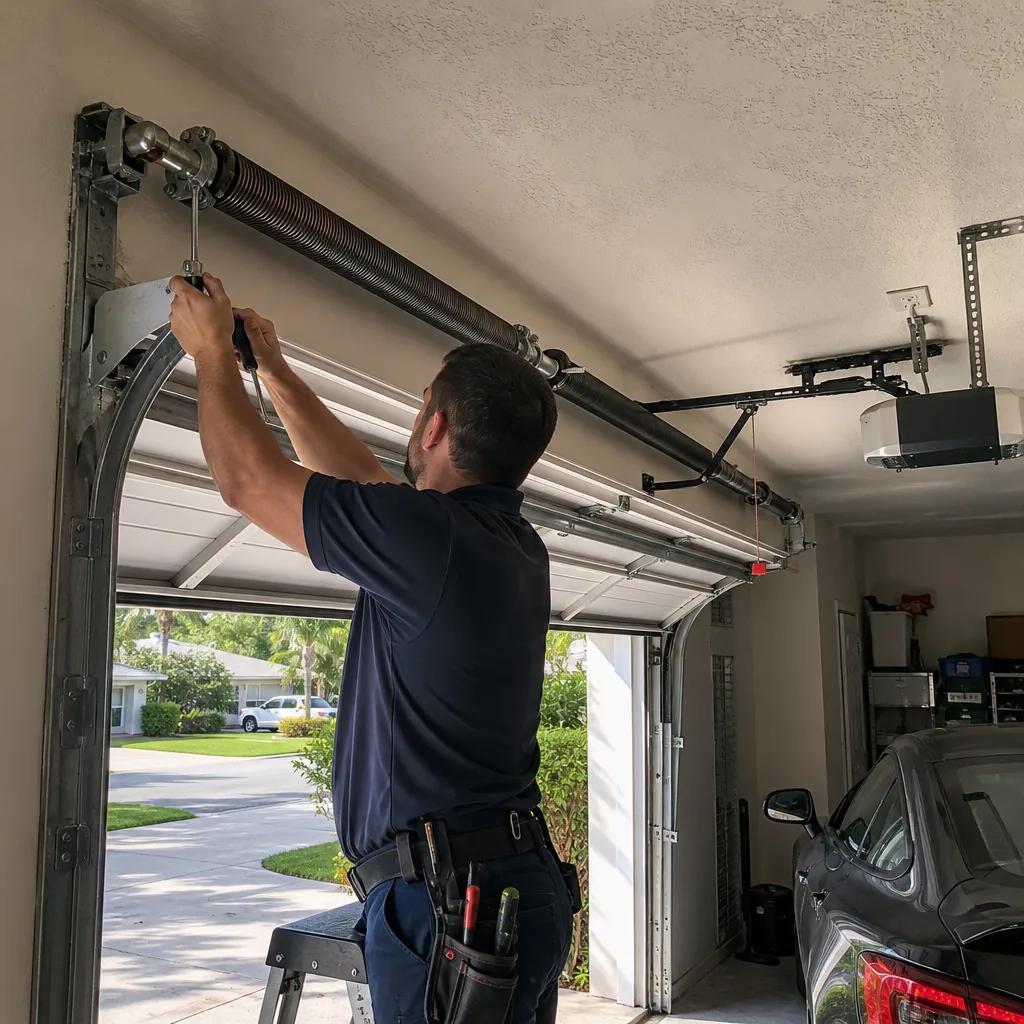 After
After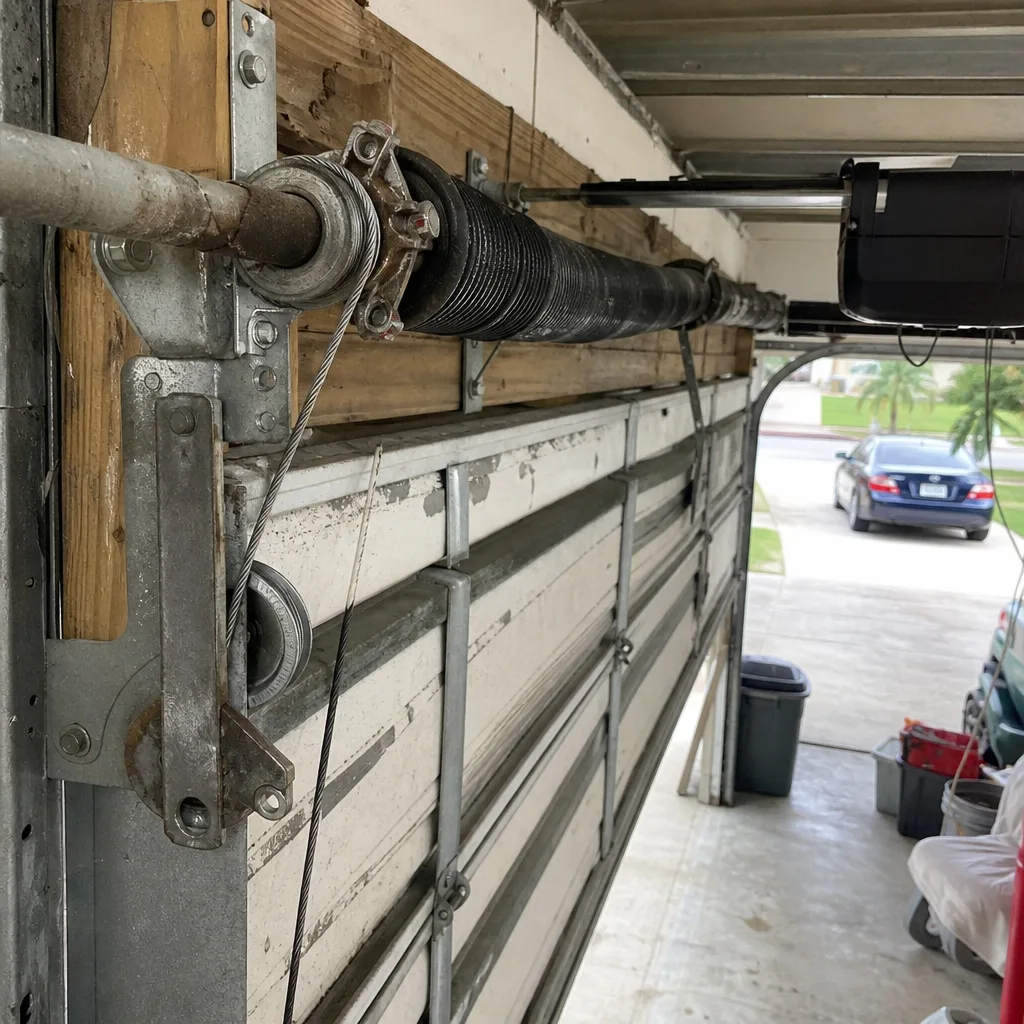 Before
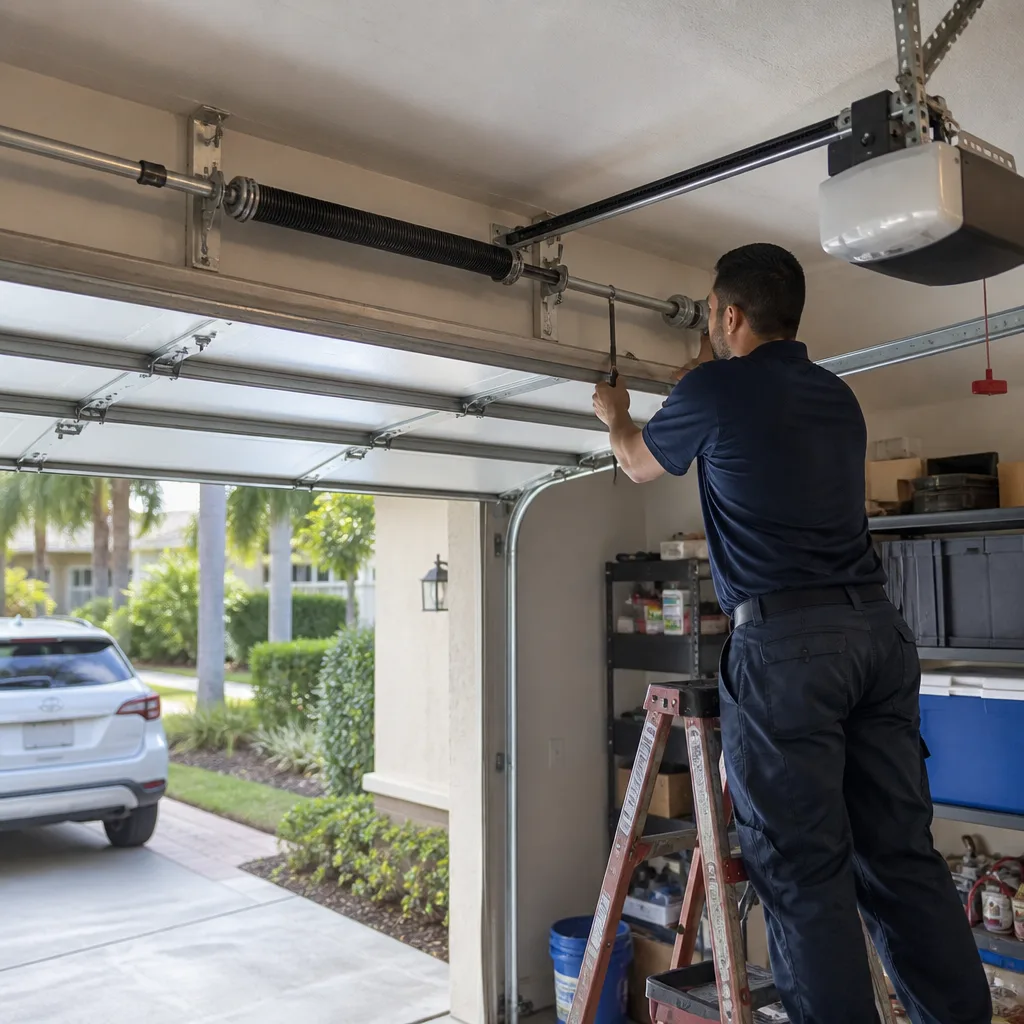 After
AfterGarage Door Repair Maintenance Checklist for Hollywood Homeowners
Most garage door checklists floating around the internet were written for Ohio or Michigan. They obsess over chain lubrication and cold-weather grease thickening, which matters a lot in Cleveland and almost not at all in Hollywood, Florida. What actually kills garage doors here is salt air eating through steel rollers on coastal-facing homes, and humidity swelling bottom seals until they split open during afternoon storm cycles. This checklist is built around those two failure modes, in the order they typically occur. It is written by a Hollywood garage door company that has repaired over 18,000 doors since 2015, and it reflects what our technicians document on our Garage Door Repair services calls every week.
Quick Answer
The most important garage door maintenance tasks for Hollywood homeowners, in priority order, are: replacing the bottom weather seal every 18 to 24 months (humidity and standing water destroy them faster here than anywhere in the continental U.S.), removing salt residue from hinges and rollers on any door facing east toward the Atlantic, and visually inspecting torsion springs for rust streaks that signal imminent failure. Run this full checklist twice a year, once in April before storm season and once in November after hurricane season ends. Most of it takes under an hour and requires no special tools.
Table of Contents
- What actually fails first in Hollywood: salt and humidity, not wear
- The Hollywood month-by-month maintenance cadence
- Bottom weather seal: the component that fails first
- Salt residue removal for coastal-facing doors
- Torsion spring corrosion inspection: the 60-day warning sign
- Lubrication guide: silicone vs. lithium grease, applied by part
- Photo documentation: what to record before you call anyone
- Common mistakes to avoid
- When to call a professional
- Frequently asked questions
BeforeAfterWhat actually fails first in Hollywood: salt and humidity, not wear
When we talk about garage door maintenance in Hollywood, the conversation has to start with what is different about this climate. Most national checklists treat garage doors as if they all face the same conditions: cold winters, dry summers, occasional rain. Hollywood has none of those. We get salt-laden air off the Atlantic, roughly 70 inches of rain a year concentrated in violent afternoon storms between May and October, and humidity that stays above 70 percent for months at a time. Those three factors, not mechanical wear, drive the majority of our repair calls.
The bottom weather seal, the rubber strip that runs along the bottom edge of the door and keeps water, debris, and pests out of the garage, is the single most frequently replaced component on Hollywood garage doors by a wide margin. The reason is straightforward: that seal sits directly on a concrete slab, which wicks moisture up into the rubber continuously. During a typical Hollywood summer, the seal is wet more often than it is dry. Rubber in constant contact with water, especially warm water, swells. It eventually splits. Once it splits, standing water gets under the door during every storm cycle, and that water brings silt and salt with it. The damage compounds from there.
Salt corrosion is the second Hollywood-specific failure mode. Homes east of Federal Highway, particularly in neighborhoods like Hollywood Lakes, Hallandale Beach border areas, and anything within two miles of the Intracoastal, face measurable salt deposition on exterior metal. Hinges, rollers, and the bottom bracket, which is the steel plate that connects the lift cables to the door itself, all take salt exposure. We have pulled steel rollers off Hollywood doors that were corroded to the point where the bearings had seized, on doors that were only four years old. That simply does not happen in inland climates at the same rate. The fix is not expensive, and the prevention is simple enough that any homeowner can do it. We cover the exact procedure later in this guide.
What does not fail first in Hollywood, despite what most national checklists claim, is the chain or belt on the opener. Those components are typically protected inside the garage and well above the floor, so they see little direct moisture. They still need attention, but they are rarely the cause of a Hollywood service call in the first ten years of a door’s life. If you want a full breakdown of the most common repair issues we handle across the area, our Garage Door Repair in Hollywood page documents what our technicians actually see in the field, with the price ranges attached.
The Hollywood month-by-month maintenance cadence
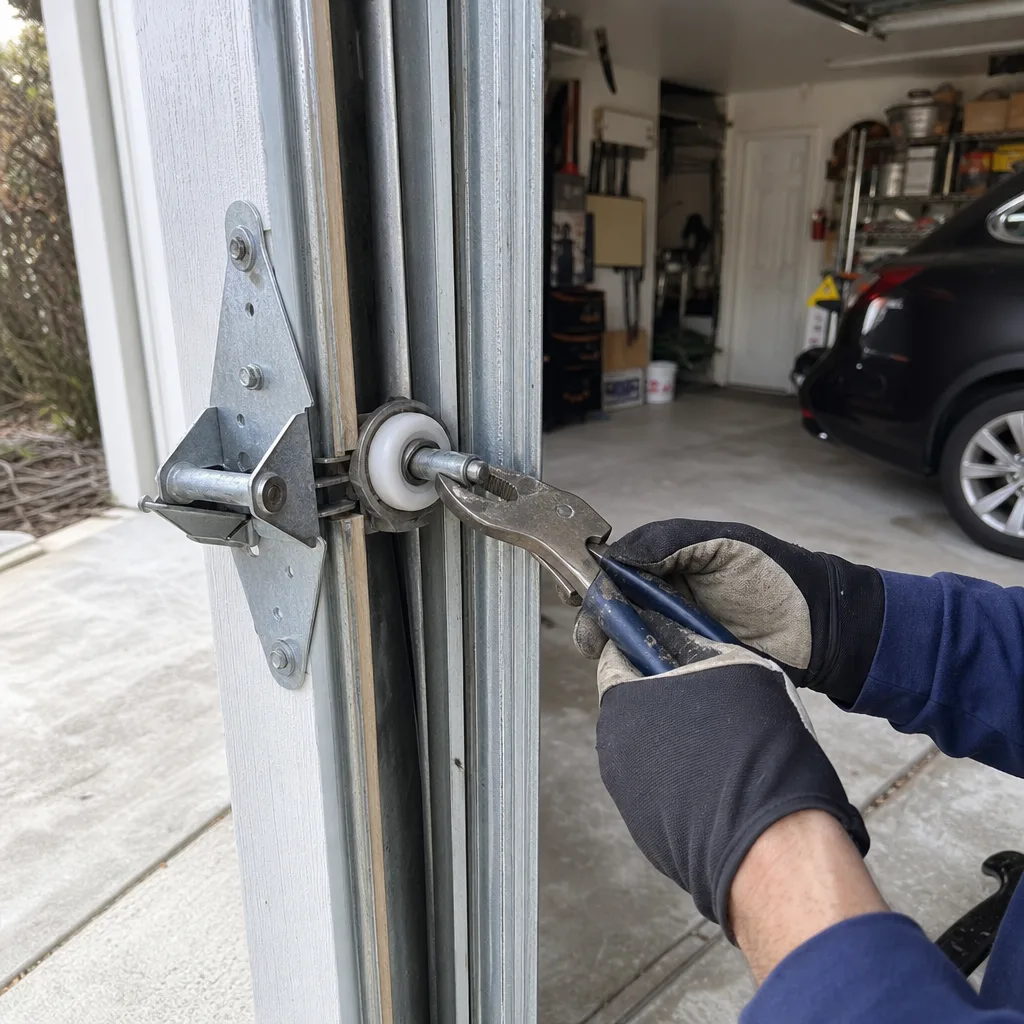
The calendar matters here because Hollywood’s weather has a shape, and that shape dictates when specific maintenance tasks make sense. You do not want to be replacing a bottom seal in August if you can avoid it. You do want to be checking springs for rust in late October, because November through January is when old springs are most likely to snap after a summer of thermal stress. Here is the month-by-month schedule we recommend for a standard attached garage with a steel sectional door. This is the same cadence we suggest to homeowners who ask us to build a maintenance plan, and it is designed around storm season, not around the manufacturer’s generic 12-month cycle.
April: Pre-storm-season prep
- Inspect the bottom weather seal along its full length. Look for cracks, splits, or any spot where the seal is no longer making contact with the slab. If you can see daylight or feel a draft under the door, the seal is done.
- Remove salt residue from hinges, rollers, and the bottom bracket using the procedure in the salt removal section below. Do this before the rainy season starts so the salt is not sitting on the metal when the humidity arrives.
- Test the auto-reverse safety sensor, the two photo-eye units mounted about six inches off the floor on either side of the door opening. Place a roll of paper towels in the door’s path and close it. The door should reverse within two seconds. If it does not, stop using the door and address the alignment or sensor wiring immediately; this is the primary safety device on any automatic opener.
- Run the door through three full open and close cycles while watching and listening. Note any grinding, squealing, hesitation, or uneven movement. Record it on your phone; that video becomes the baseline for the next inspection.
August: Mid-storm-season check
- Check the bottom seal again after the first two months of daily rain. This is when swelling becomes visible. A seal that is still intact but visibly puffed up or darker in color than the surrounding rubber has absorbed water and is on its way out, even if it has not split yet.
- Inspect the garage floor for any signs of water intrusion after storms. Standing water near the door indicates the seal is no longer doing its job, and the fix should happen before November.
- Wipe down the door tracks with a dry rag, particularly the vertical tracks on the outside edges. If you see rust forming on the tracks themselves, note it but do not sand or lubricate them; tracks should never be lubricated, and rust removal on tracks is a job for a technician.
November: Post-hurricane-season inspection
- Replace the bottom weather seal if it shows any splitting, cracking, or loss of contact. November is the ideal month for this job in Hollywood because the worst of the rain is over and the seal will have months of drier weather to bed in properly.
- Do a full visual inspection of the torsion spring for rust streaks. The specific pattern to look for is detailed below. A spring that has visible red-brown streaking in late fall is likely to fail during the cooler winter months when the metal contracts.
- Inspect the rollers. Check for wobble, flattened spots, or visible corrosion on the metal stem that connects the wheel to the bracket. Rollers that show these signs should be replaced in pairs or as a full set, not individually.
- Test the opener’s force settings. Disconnect the opener using the red emergency release cord, then try to lift the door manually. A properly balanced door should lift smoothly with your hands and stay in place about halfway up the opening without support. If it drops or shoots up, the spring tension is wrong and that is a professional adjustment.
This twice-a-year rhythm, a thorough pass in April and November with lighter checks in between, is what keeps a Hollywood garage door running past the 20-year mark without major repair costs. It is also the kind of structured maintenance that makes professional service visits faster and cheaper when they do happen, because the technician is not starting from an unknown baseline.
Bottom weather seal: the component that fails first
The bottom weather seal on a Hollywood garage door lives a harder life than almost any other component. It sits against a concrete slab that is wicking groundwater. It is exposed to standing water during every afternoon storm, salt-laden air if you are anywhere near the coast, and the daily thermal expansion and contraction of a metal door panel baking in the Florida sun. The seal is rubber, and rubber degrades under those conditions. The only question is how fast.
Our service data from Hollywood and the surrounding area shows that bottom seals on standard residential doors last between 18 and 30 months here before they start losing their seal against the slab. The national average is roughly 36 to 48 months. If you buy a home in Hollywood and the garage door seal has not been replaced since you moved in, assume it needs immediate attention, especially if the door faces south or west where the afternoon sun hits the lower panel directly.
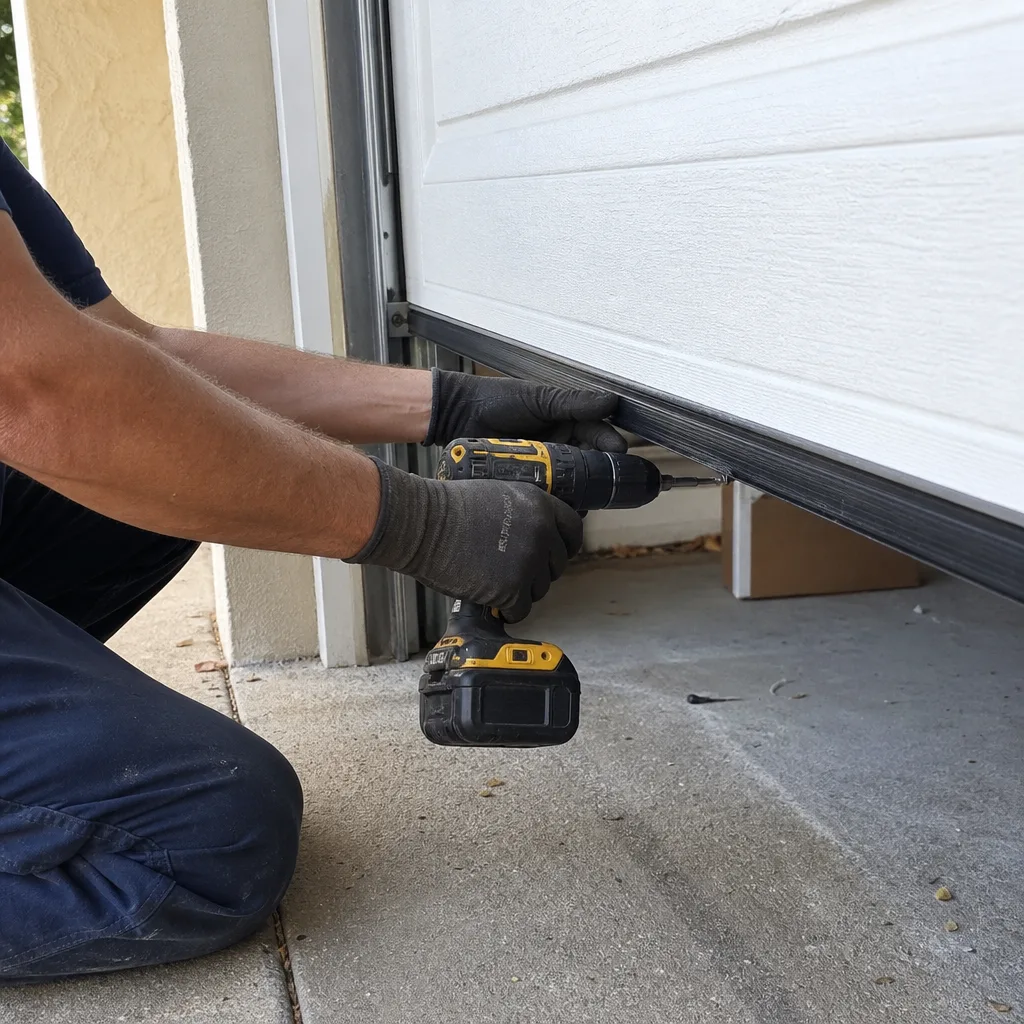
Replacing a bottom seal is not a dangerous job, and many homeowners do it themselves. The seal is an extruded rubber or vinyl strip that slides into a channel on the bottom of the door, or screws into place on some older wooden doors. The replacement seal costs between $25 and $60 at most building supply stores, depending on door width and material. Silicone-infused rubber seals last longer in Hollywood’s heat than standard PVC, and they seal better against an uneven slab. If the door is more than 16 feet wide, expect to buy two lengths and join them, or call a professional to handle the job in one visit.
Here is what a failing bottom seal looks like in Hollywood, in the order the symptoms appear:
- Symptom one: Visible swelling or puffiness in the rubber, particularly around the ends where water pools. The seal looks larger than it should and feels soft or spongy to the touch.
- Symptom two: Small cracks appearing at the fold points, the places where the seal flexes as the door opens and closes. Back lighting, using your phone flashlight, makes these cracks visible even when they are hairline.
- Symptom three: Daylight visible under the door when it is fully closed. Walk around to the outside of the closed door and look along the bottom edge at ground level. Any gap, no matter how small, means the seal has lost its job.
- Symptom four: Standing water inside the garage after storms, or a musty smell that does not go away. By this point the seal has completely failed and the door itself, plus anything stored on the garage floor, is being exposed to water damage.
A failing seal is a maintenance item, not a repair emergency, but it should not wait. The longer water sits against the bottom door panel, the more likely you are to see rust developing on the panel itself, and a rusted bottom panel on a sectional door often means replacing the entire panel, not just the seal. That is a $400 to $900 job instead of a $60 one. If you are not sure whether your seal is still doing its job, our team at Servo Garage Doors Hollywood home includes the condition of the seal in every service visit photo record, so you will see exactly what we see.
Salt residue removal for coastal-facing doors
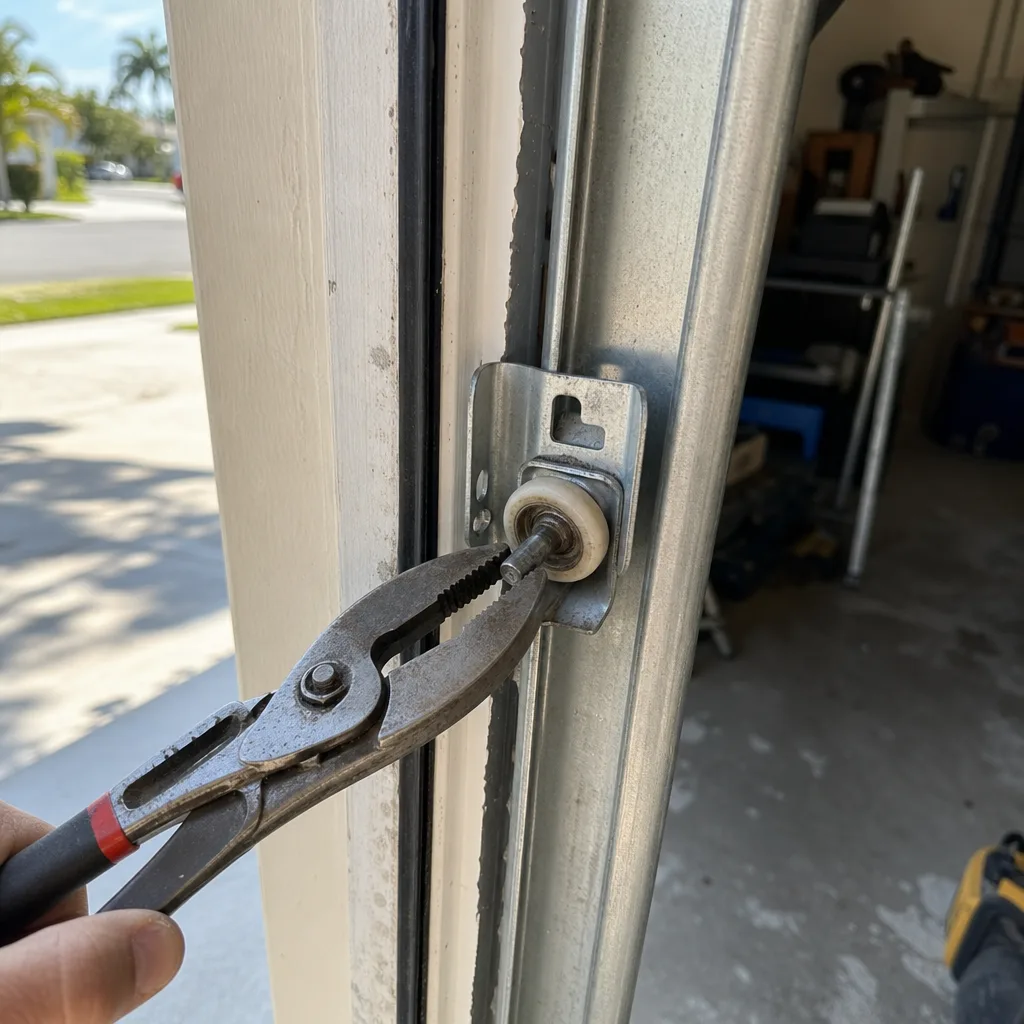
If your Hollywood home is east of Federal Highway, your garage door hardware is being exposed to airborne salt every single day. The salt comes in off the Atlantic on the prevailing easterly breeze, and it settles on every metal surface. It does not cause dramatic immediate damage the way a storm does. It works slowly, year after year, but it is relentless. We have documented hinges that looked structurally intact from the outside but had corroded thread paths inside where the screws seated, and rollers on five-year-old Hollywood doors with more visible rust than rollers on twenty-year-old doors in Weston or Miramar.
The salt removal procedure is genuinely simple, but it needs to happen on a schedule. Twice a year is the minimum for coastal-facing doors; quarterly is better if you are within four blocks of the beach. The procedure takes about 20 minutes and requires nothing more than a bucket, warm water, dish soap, and a clean rag. Here is the step-by-step version we recommend.
- Mix warm water with a few drops of mild dish soap in a bucket. Do not use a pressure washer, a degreaser, or any solvent. The point is to lift salt residue, not to blast lubricant out of the hardware.
- Take a clean, damp rag and wipe each hinge, both the flat plate that mounts to the door and the barrel in the middle where the two halves pivot. Work top to bottom on each side of the door. You will likely see a gray-brown film come off on the rag; that is salt mixed with oxidized metal and airborne dust.
- Wipe each roller stem, the metal rod that connects the roller wheel to the hinge. Do not pull the roller out of the track. Just wipe what you can reach while the door is closed.
- Wipe the bottom bracket on each side, the steel plate at the bottom corner of the door that attaches the lift cables. These brackets are the most salt-exposed components on the entire door system, and they are also under constant tension from the lift cables. Salt corrosion on a bottom bracket is a genuine safety concern, and if you see pitting or flaking rust here, call a professional rather than attempting repair yourself.
- Wipe the inside of the vertical track where the rollers run. Use a dry rag for this step, and then leave the track alone. Do not lubricate the track. A clean, dry track with clean rollers is what the door needs; oil or grease in the track attracts dirt and creates the exact buildup you are trying to remove.
- Rinse the rag frequently throughout the process. You are trying to remove salt, not to redistribute it across different components.
The bottom bracket mentioned in step four deserves extra attention because it is the component most likely to fail suddenly when salt corrosion is left unchecked. The bracket holds the lift cable, and the lift cable is under tension from the torsion spring. When the bracket fails, the cable can snap loose, and a garage door with one cable detached is a dangerous situation. If you see rust pitting, flaking, or any visible thinning of the metal on a bottom bracket, that door should not be operated until a professional has assessed it. The repair is straightforward, but the assessment is not optional.
Torsion spring corrosion inspection: the 60-day warning sign
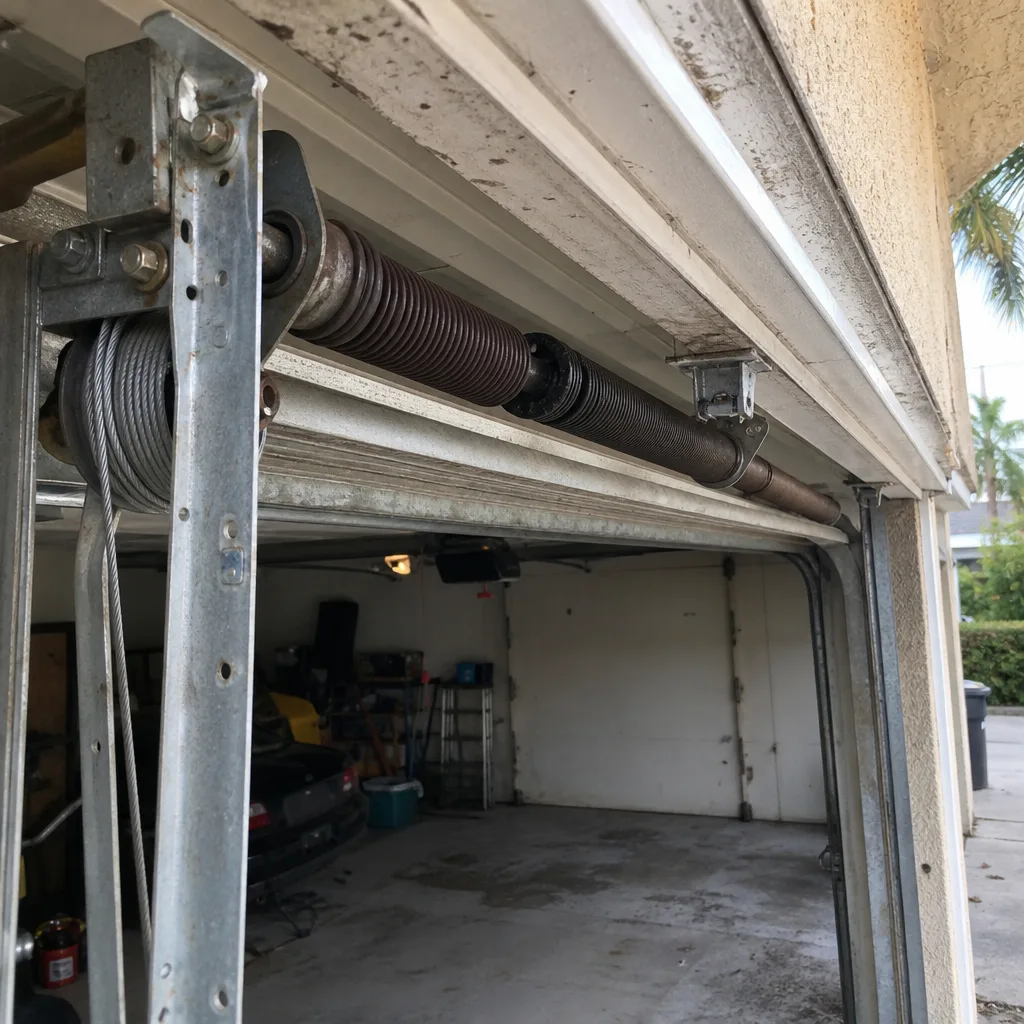
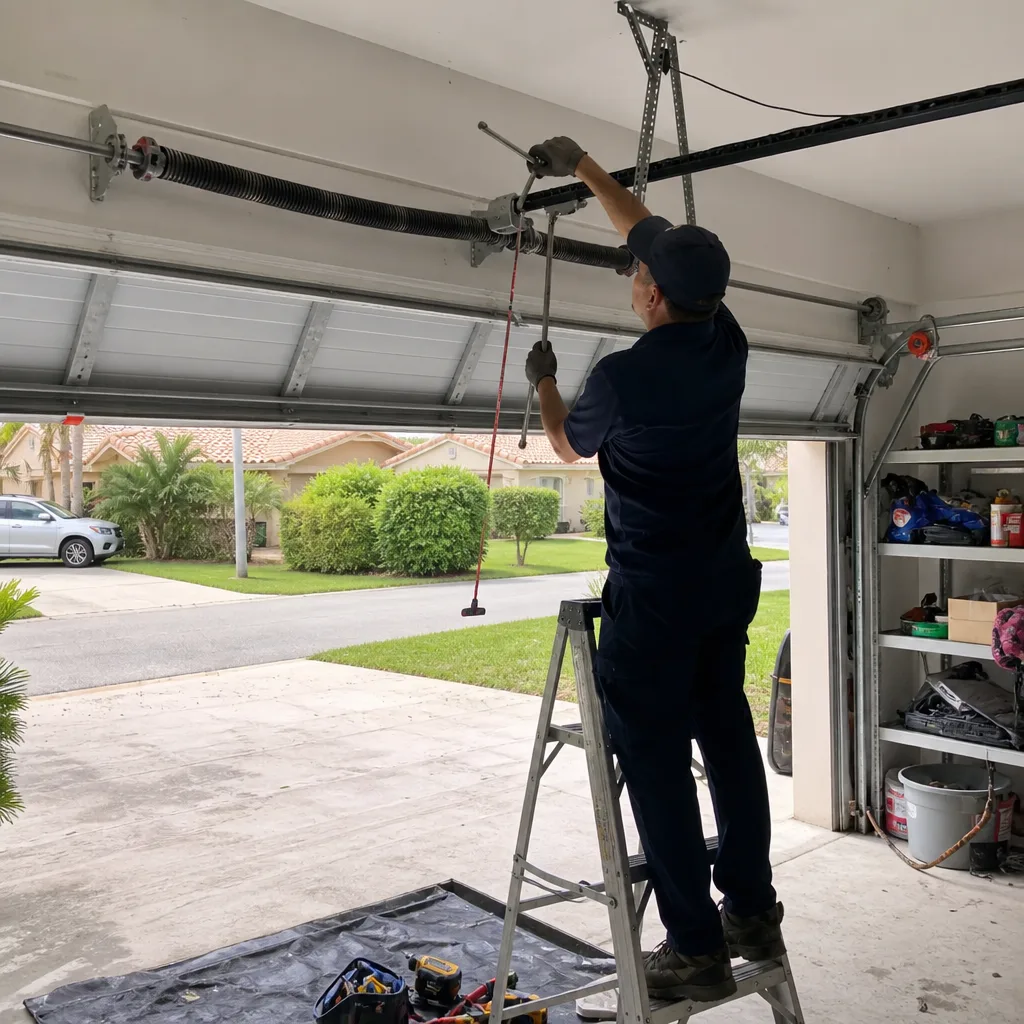
The torsion spring is the component that counterbalances the weight of the garage door. It is a heavy steel coil mounted on a horizontal shaft above the door opening, and it is under enormous tension at all times. When a torsion spring fails, it fails suddenly and loudly; homeowners typically describe it as sounding like a gunshot inside the garage. The door will not open easily after a spring fails, and attempting to force it open with the opener is the fastest way to damage the opener itself.
Torsion springs have a service life, commonly quoted as 10,000 cycles by manufacturers. In a typical Hollywood household where the door operates four to six times a day, that works out to roughly six to eight years of service. But Hollywood’s salt air and humidity shorten that life in ways that national averages do not account for. The spring steel is coated, usually with an oil-tempered finish or a powder coat, and that coating is what protects the steel from corrosion. Salt and moisture attack that coating first. Once the coating is compromised, the underlying steel begins to rust, and rusted spring steel loses its temper, meaning it loses the metallurgical properties that let it flex under load without failing.
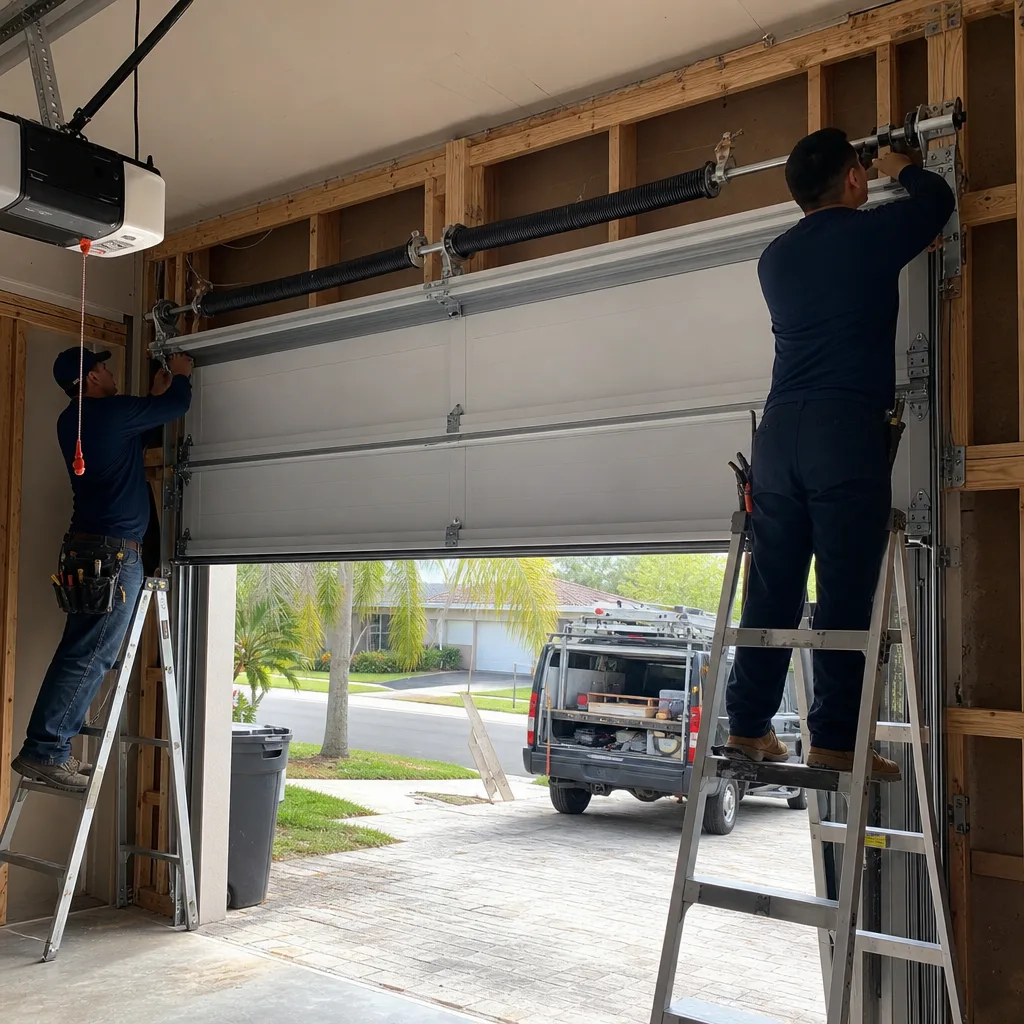
The visual warning sign we tell Hollywood homeowners to look for is a rust streak pattern. It is not subtle. A spring that is nearing the end of its life will show reddish-brown streaking running along the length of the coil, often appearing brightest in the crevices between individual coils. The streaking typically starts at one end, near the winding cone where the spring attaches to the center bracket, and spreads outward. Sometimes the streaking follows a spiral pattern matching the coil itself. We have documented this exact pattern on hundreds of Hollywood service calls, and in our experience, a spring showing this rust streak pattern has roughly 60 days of safe operation left before failure. Sometimes less, depending on how many cycles the door runs daily.
The critical instruction here is that you should not touch a torsion spring. Do not attempt to clean it, oil it, wire brush it, or inspect it with your hands. The spring is holding the entire weight of the door through stored mechanical energy, and a corroded spring is more likely to fail without warning during any physical contact. The visual inspection is exactly that: visual. Stand inside the garage with the door closed, look at the spring above the opening, and note what you see. Take a photograph with your phone. If you see rust streaking, call a professional. A torsion spring replacement on a standard Hollywood single-car door typically runs $180 to $340, and it should be done the same day it is diagnosed. For a more detailed breakdown of spring replacement costs and what the job involves, our Garage Door Repair in Hollywood page lays out the full price range and explains why springs are always replaced in pairs, not individually.
Lubrication guide: silicone vs. lithium grease, applied by part
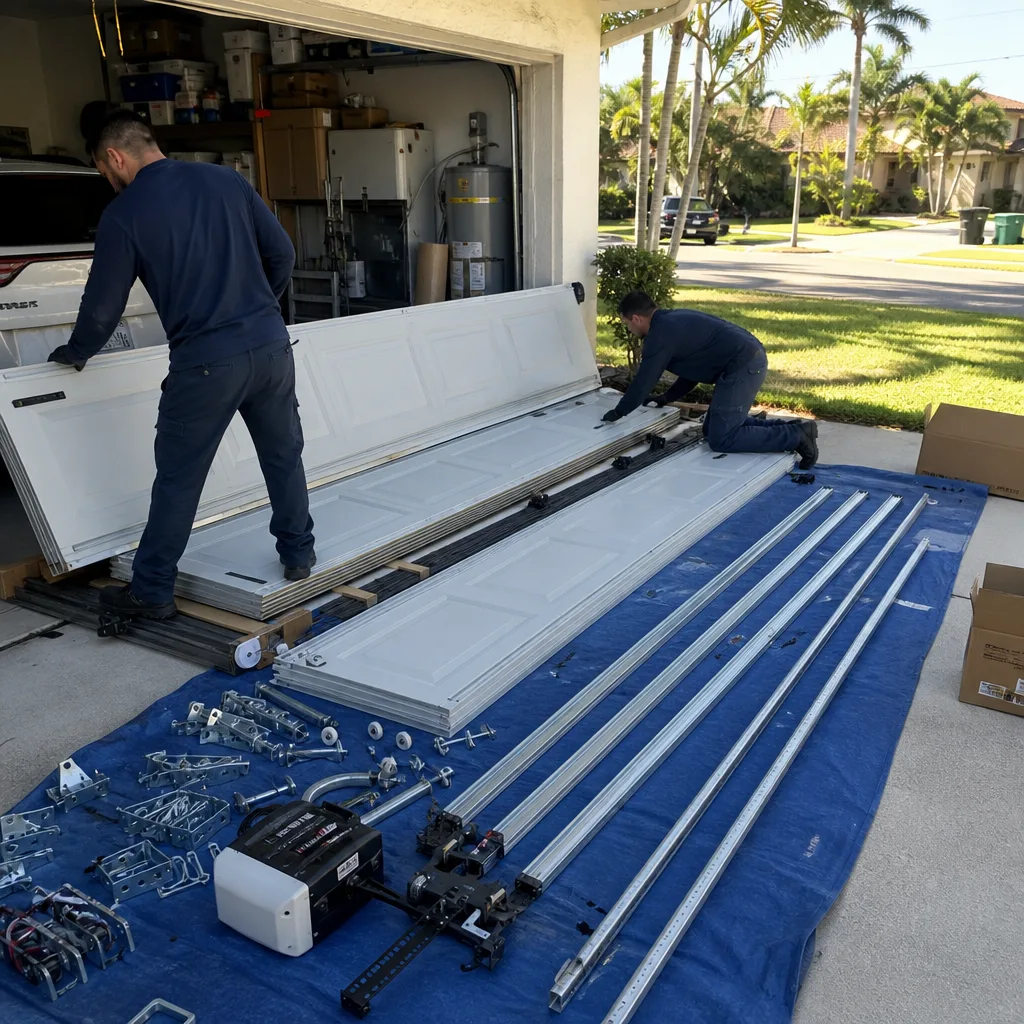
This is the section where national checklists do the most damage to Hollywood garage doors. The standard advice is to lubricate the moving parts once a year, usually in the fall, using whatever spray lubricant you have in the garage. That advice is wrong in two important ways. First, different components need different types of lubricant, and using the wrong one causes problems. Second, “moving parts” is too vague to be useful. Here is the exact breakdown of what to lubricate, what to leave alone, and which product to use for each.
Silicone spray lubricant is the correct choice for most garage door components in Hollywood’s climate. Silicone is hydrophobic, meaning it repels water, and that matters here more than anywhere else in the country. It also stays wet and does not attract dust or salt the way petroleum-based lubricants do. Use a silicone spray, not a penetrating oil like WD-40, which is not actually a lubricant. WD-40 displaces water and frees stuck parts, but it evaporates quickly and leaves surfaces unprotected.
White lithium grease is the correct choice for the opener rail, the metal track that runs along the ceiling and carries the trolley carriage. Lithium grease is heavier than silicone and it stays in place on the rail, where a thin spray would drip off or get flung. Apply it sparingly, a thin bead along the top of the rail, and then run the door through a full cycle to spread it. Over-application is the most common mistake here; excess grease ends up dripping onto the car or pooling on the garage floor.
Here is the part-by-part list:
- Torsion springs: Silicone spray. Apply a light coat while the door is closed, spraying along the top of the spring. The lubricant seeps between the coils and prevents them from grinding against each other during operation. Do not saturate; a thin coat is correct.
- Hinges: Silicone spray. Apply to the pivot joint, the barrel in the center where the two leaves meet. Work the door through a cycle after spraying to distribute the lubricant. Hinges are the most frequently lubricated component on any garage door.
- Rollers: Silicone spray, but only on the metal stems where they enter the hinge. Do not spray the nylon wheel itself, and never spray into the track. The wheel does not need lubrication; it needs clean metal track to ride on.
- Opener rail on screw-drive models from Genie or Chamberlain: Lithium grease or, for newer models, a dry Teflon-based lubricant. Check the manufacturer’s recommendation for your specific opener. Hollywood humidity does not change the recommendation here, but salt air may mean you lubricate the rail slightly more often than the manual suggests if you live near the coast.
- Trolley carriage: The component that rides along the opener rail and pulls the door. Silicone spray on the contact points. This component, particularly on Chamberlain and LiftMaster openers, runs quietest when regularly lubricated.
- Lock hardware and deadbolt slides: Silicone spray or powdered graphite. Do not use grease here; it collects dust and gums up the mechanism.
What never gets lubricated: the vertical and horizontal tracks themselves. This cannot be said too many times. The track is a guide, not a bearing. Lubricating tracks is the single most common maintenance error we see on Hollywood service calls from new homeowners. Grease or oil in the track collects salt, sand, and dust, forms an abrasive paste, and accelerates wear on the rollers. If your track looks dry, that is correct. Leave it alone.
The same rule applies to plastic, or nylon, rollers. They are designed to run dry. Spraying them with silicone does nothing helpful and just puts silicone on the track, where it will eventually collect dirt. Modern nylon rollers from Clopay, Amarr, and Wayne Dalton all ship with sealed bearings that do not require homeowner lubrication. If a roller is noisy after cleaning, it is worn and needs replacement, not oil.
If you are not sure whether your opener is a belt, chain, or screw drive, or you want to know whether the rail on your specific model needs lubrication, our Garage Door Opener Repair & Installation in Hollywood page covers the maintenance requirements for all major brands, including the ones we service most often in this area.
Photo documentation: what to record before you call anyone
Every maintenance procedure in this guide becomes more useful if you photograph it. The photo record serves two purposes. First, it gives you a baseline for the next inspection, so you can tell whether a rust streak is new or has been there for six months. Second, if you do call a technician, the photos give that technician a starting point that is more reliable than your verbal description. A photo of a bottom bracket with visible rust pitting tells a different story than a phone call saying “the bracket looks kind of rough.”
Servo Garage Doors Hollywood was founded on a documentation-first principle: the technician photographs the failed component before quoting a replacement. That rule is codified as Clause 4 of The Haven Standard, the operating agreement we work under. Every visit ends with a documented photo record of what was found and what was done, and that record is delivered to the customer. But the documentation does not have to start when the technician arrives. It should start with you, on your phone, at the first sign of a problem. Here is what to photograph, and how to frame each shot so it is useful later.
- The full door from inside, in good light. Stand back far enough to capture the entire door plus the spring assembly above it. This is your general condition reference. Date the photo.
- The torsion spring assembly, close up. Stand on a step stool if needed and photograph the spring from both ends, showing the winding cones and the center bracket. Focus on any areas that look discolored or streaked. You are documenting the rust pattern here.
- The bottom seal, from the outside. Close the door, go outside, and photograph the bottom edge of the door at ground level. Use your phone’s flash or a work light if the garage faces north and the light is poor. Look for any slope or gap where the seal is not contacting the slab.
- Each hinge and roller, one at a time or in panels. You do not need a separate photo for every hinge, but closeups of the bottom two hinges on each side capture the components that see the most salt and moisture.
- The bottom brackets. These are the most safety-critical components to document. A clear photo showing the bracket surface makes it possible to compare against the next inspection and spot the first signs of pitting or thinning.
- Any part that looks wrong. If something catches your eye, a noise, a wobble, a spot of rust, photograph it. Even if it turns out to be nothing, the photo establishes the baseline.
Store the photos in a dedicated album on your phone, labeled by date. The next time you do an inspection, pull up the old photos and compare directly. You will be surprised how much changes in six months that you would not have noticed without the before image. When you do need a service call, you can send the photos along with your initial request, and the technician arrives already oriented to the problem. That is a faster diagnosis, a more accurate written price, and a better outcome for you.
Common mistakes to avoid
- Lubricating the tracks. As covered above, this is the most common maintenance error we see in Hollywood, and it actively damages the door by creating an abrasive paste. Tracks should be clean and dry, nothing else.
- Using WD-40 as a lubricant. WD-40 is a water displacement formula and a rust penetrant, not a long-term lubricant. It evaporates, leaves surfaces unprotected, and attracts dust. Use silicone spray for door hardware and white lithium grease for the opener rail.
- Ignoring a swollen bottom seal because it has not split yet. By the time a weather seal splits, the door has likely already been exposed to water intrusion during storms. Swelling is the early warning sign, and it is cheap to address. A replacement seal costs less than $60 and takes under an hour.
- Trying to adjust or replace a torsion spring yourself. The spring is under enough tension to cause serious injury if it releases unexpectedly. There is no safe DIY version of this repair. Independent of Hollywood’s climate, this is the most dangerous component on any garage door system, and it should always be handled by a technician.
- Skipping the April pre-storm inspection. Homes that run through a full storm season without a seal check, a sensor test, and a roller inspection are substantially more likely to need emergency repair during a storm, when wait times are longest and the work is most stressful for everyone involved.
- Operating the door after a cable breaks or a spring snaps. If you hear a loud pop from the garage and the door will not open, stop operating the door. Do not use the opener, and do not try to lift the door manually. Overriding a door with a broken spring puts the entire weight on the opener, which can burn out the motor, and a door with one cable detached can come off its track.
- Deleting service photos or not taking any in the first place. Your phone camera is the cheapest diagnostic tool you own. Photograph everything during each inspection, and keep the photos. They make the next inspection faster, and they make any future service call more accurate.
When to call a professional
Some garage door maintenance items are genuinely homeowner-level, and some are not. The dividing line is simple: anything involving the torsion spring, the lift cables, or the bottom brackets is professional work, no exceptions. These components are under tension, and when they fail, they can cause injury or serious damage. In Hollywood, where salt corrosion makes these components fail earlier than the national average, the line between a maintenance item and a repair emergency can move quickly. A bottom bracket that shows rust pitting in April may be a broken cable by November. A torsion spring with rust streaks in October may snap in December. If you see any of these warning signs, call sooner rather than later. Servo Garage Doors Hollywood offers written flat-rate pricing before any work starts, per Clause 1 of The Haven Standard, and every customer receives a documented photo record when the technician leaves. We are at Servo Garage Doors Hollywood home, and our phone is (754) 465-7645.
For homeowners who are ready to move beyond maintenance and replace the door entirely, the process starts with a free measure and a written price. Our Garage Door Installation in Hollywood page explains how new doors from Clopay and Amarr hold up in Hollywood’s climate, including which seal materials and hardware coatings we recommend for coastal-facing homes.
Frequently asked questions
Plan to replace the bottom weather seal every 18 to 24 months in Hollywood. Humidity and standing water from afternoon storms degrade the rubber twice as fast as in drier climates. If the door faces the coast or gets direct afternoon sun, expect to replace it closer to the 18-month mark. A seal that is still intact but visibly swollen has already absorbed water and should be replaced before the next storm season. For an exact assessment of your door, call (754) 465-7645 and we will tell you what we recommend during the estimate.
Most of the checklist in this guide is homeowner-level work: inspecting the seal, removing salt from hinges, testing the safety sensors, and lubricating with the correct products. The tasks that require a professional are anything involving the torsion spring, lift cables, or bottom brackets. Those components are under tension and dangerous to work on without proper tools and training. If your inspection finds rust streaking on the torsion spring or pitting on a bottom bracket, call (754) 465-7645 for a professional assessment with a written price before any work begins.
The most common warning sign on Hollywood doors is a rust streak pattern on the spring, reddish-brown lines running along the coil, often brightest near the winding cones on either end. In our experience, a spring with this pattern typically has about 60 days of safe operation left. Other signs include a door that feels heavier than usual when opened manually, or a visible gap in the spring where a coil has separated. If you see a gap, stop using the door. Call (754) 465-7645 for a spring replacement quote; the price is written and flat, agreed before work starts.
Use silicone spray lubricant on torsion springs, hinges, and roller stems. Use white lithium grease on the opener rail, applying a thin bead along the top of the rail. Do not use WD-40 as a lubricant, and never lubricate the door tracks or nylon rollers. Coastal homes east of Federal Highway should lubricate hinges and springs slightly more often than inland homes due to salt exposure, typically quarterly rather than twice a year. The full part-by-part breakdown is in the lubrication section above, and if you would rather not do it yourself, call (754) 465-7645 and we will handle it during a maintenance visit.
Afternoon binding in Hollywood summer weather is typically caused by thermal expansion of the door panel or by humidity swelling the bottom seal. A door that operates smoothly in the morning but binds in the late afternoon heat is usually a panel alignment issue, not a broken component. A door that scrapes or drags after storms is more likely a swollen seal. If the door binds repeatedly, it should be inspected by a professional before the binding causes a cable to derail or a hinge to fail. Call (754) 465-7645 and we will quote the diagnosis and repair with a written price before anything is done.
We quote every job with a flat written price and written scope before any work starts, per Clause 1 of The Haven Standard. There are no surprise charges after the fact, and you see exactly what you are paying for in writing before you approve anything. We also offer a free second opinion on any written estimate from another company. Bring the paperwork and we will show you what we see, with photos, before quoting a single dollar. Call (754) 465-7645 to schedule an assessment.
The Bottom Line
A garage door in Hollywood does not fail the way a garage door in Cleveland fails. Salt and humidity, not wear and tear, are what drive the majority of repair calls here, and the components that fail first are predictable: the bottom seal, the hinges and rollers on coastal-facing doors, and the torsion spring on any door that has been through a few storm seasons without attention. Run this checklist twice a year, in April and November. Photograph everything. Use the right lubricant on the right part, and leave the track alone. When something looks wrong, call a professional before it becomes an emergency, or explore more guides & resources for help diagnosing the issue. A $60 seal replacement in April is always cheaper than a $600 panel replacement in November. For a free estimate from a Hollywood company that documents every visit with photos, call Servo Garage Doors Hollywood at (754) 465-7645.
Written by Marcus Deller, Owner at Servo Garage Doors Hollywood, serving Hollywood since 2015.